
Striping Tape Nail Art for Beginners
Welcome to the colourful world of nail art! If you’re looking to elevate your nail game, striping tape nail art is a fantastic technique to try. It may seem intricate, but with a bit of practice and the right tips, you can create stunning designs that will make your nails stand out. Let’s dive into the world of striping tape nail art for beginners!
What is Striping Tape Nail Art?
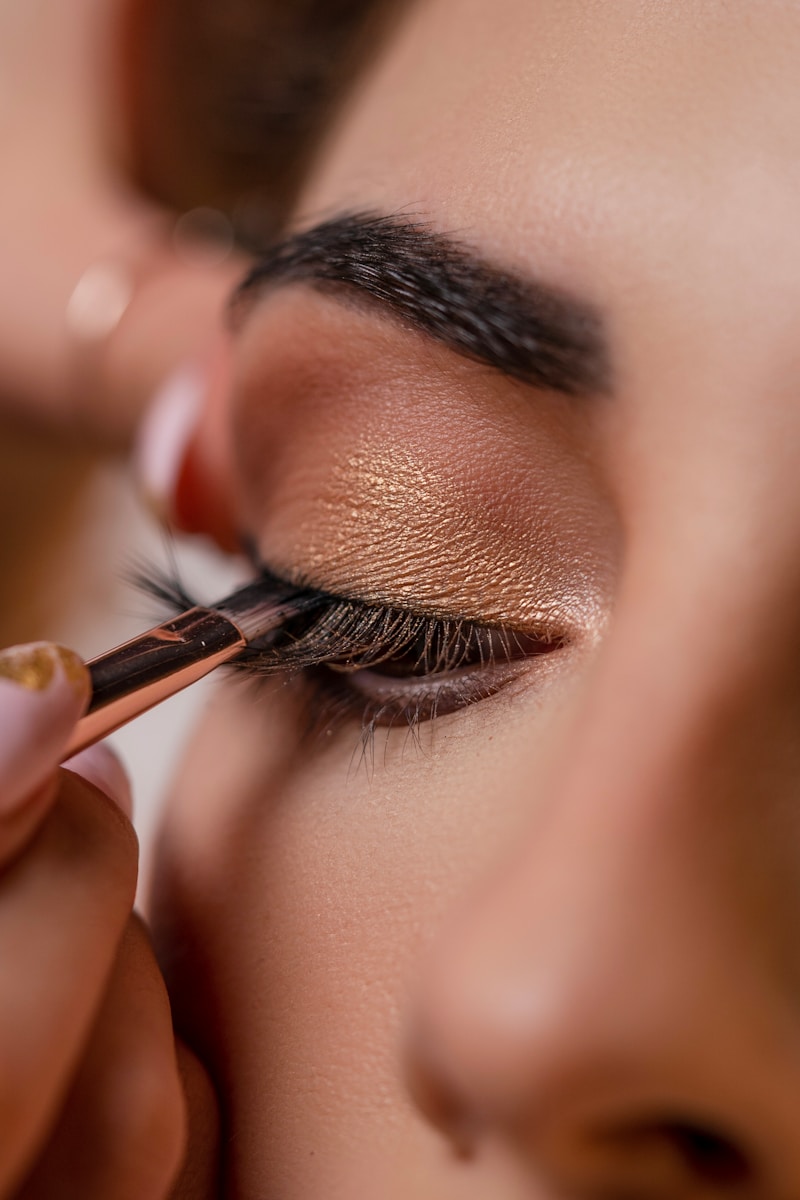
Striping tape nail art involves using thin strips of adhesive tape to create precise lines and geometric patterns on your nails. It’s a versatile technique that allows you to experiment with different designs, colours, and textures. Whether you’re a nail art enthusiast or a complete beginner, striping tape can add a touch of sophistication to your manicure.
Essential Supplies
- Striping tape rolls in various colours
- Base coat and nail polish in your desired colours
- Top coat for a glossy finish
- Nail scissors for cutting the tape
- Tweezers for precise application
- Nail art brush for detailing
- Nail polish remover for cleanup
Step-by-Step Guide
Follow these steps to create your own striping tape nail art:
- Clean and prep your nails by shaping them and applying a base coat.
- Apply your base nail polish colour and let it dry completely.
- Cut thin strips of striping tape using nail scissors and place them on your nails in the desired pattern.
- Press down the tape firmly to ensure it adheres to the nail.
- Apply a contrasting nail polish colour over the tape.
- Carefully remove the striping tape while the polish is still wet to reveal clean lines.
- Use a nail art brush to touch up any areas and add detailing if desired.
- Once your design is complete, seal it with a top coat for a long-lasting finish.
Tips for Success
Here are some tips to help you achieve flawless striping tape nail art:
- Ensure your base colour is completely dry before applying the striping tape to prevent smudges.
- Experiment with different patterns and colour combinations for unique designs.
- Use tweezers for precise placement of the striping tape.
- If the striping tape lifts at the edges, gently press it down with a nail art brush.
- Clean up any excess polish around the nails with a brush dipped in nail polish remover.
- Practice patience and precision – the more you practice, the better your designs will become.
Conclusion
Striping tape nail art is a fun and creative way to express your style through your nails. With a bit of practice and the right tools, you can create intricate designs that will impress everyone around you. So, gather your supplies, unleash your creativity, and let your nails become your canvas for stunning striping tape nail art!


Leave a Reply