
“`html
DIY Bath Bomb Gift Sets: How to Create Luxurious Homemade Presents
There is something undeniably satisfying about dropping a fizzy, fragrant bath bomb into a tub of warm water after a long, exhausting week. For many of us, a luxurious soak is the ultimate act of self-care. But have you ever considered turning this little luxury into a heartfelt, handmade gift?
Creating your own DIY bath bomb gift sets is not only a brilliant way to save money, but it also allows you to customise every aspect of the experience—from the scent to the skin-loving ingredients. Whether you are preparing for Christmas, a birthday, or simply want to show a friend some appreciation, a handmade bath bomb set is a thoughtful gesture that says, “You deserve a break.”
In this guide, we will walk you through everything you need to know to craft professional-quality bath bombs and package them into stunning gifts that rival any high-street beauty brand.
Why Make Your Own Bath Bombs?
Before we don our aprons and get mixing, let’s look at why making bath bombs at home is such a rewarding project.
Complete Control Over Ingredients
When you buy commercial bath bombs, you often encounter a long list of unpronounceable chemicals, artificial dyes, and potential irritants. By making your own, you have complete control. You can use natural essential oils, avoid harsh sulphates, and cater to sensitive skin. It’s a cleaner, greener approach to beauty.
Budget-Friendly Luxury
Let’s be honest: luxury bath bombs can be pricey. The raw ingredients—bicarbonate of soda and citric acid—are incredibly affordable. You can make a dozen high-quality bombs for a fraction of the price of a shop-bought gift set.
The Personal Touch
In a world of mass-produced goods, a handmade gift stands out. You can tailor the fragrance to the recipient’s personality—perhaps lavender for a stressed mum, zesty lemon for an energetic friend, or rose geranium for a romantic soul.
The Perfect Bath Bomb Recipe
The secret to a bath bomb that fizzes beautifully without crumbling lies in the ratio of dry to wet ingredients. Here is a fail-safe recipe to get you started.
Ingredients (Makes approx. 4-6 large bombs)
- 300g Bicarbonate of Soda: The base of your bomb.
- 150g Citric Acid: This creates the fizz when it reacts with the water and bicarb.
- 100g Cornflour: This helps to bind the mixture and makes the bath water feel silky.
- 2-3 Tablespoons Sweet Almond Oil or Apricot Kernel Oil: These act as a moisturiser and a binder.
- 1 Teaspoon Water: Use sparingly; a spray bottle is best.
- 20-30 Drops Essential Oil: Choose high-quality oils for the best scent throw.
- Natural Colourants: Mica powders or water-soluble dyes work best.
- Witch Hazel: Essential for spritzing the mixture to help it hold its shape.
Equipment You Will Need
- Large mixing bowls (glass or stainless steel)
- Bath bomb moulds (plastic or metal spheres, or silicone moulds for shapes)
- A spray bottle filled with witch hazel
- Whisk and spoons
- Gloves (to protect your hands from citric acid)
Step-by-Step Method
Follow these steps carefully to ensure your bath bombs turn out perfectly every time.
1. Mix the Dry Ingredients
In a large bowl, sieve the bicarbonate of soda, citric acid, and cornflour. Sieving is crucial as it removes lumps, ensuring a smooth finish on your final product. Whisk them together until fully combined.
2. Prepare the Wet Ingredients
In a separate small jar or bowl, mix your chosen carrier oil (like sweet almond), your essential oils, and a tiny amount of colourant. Note: If you use too much liquid colourant at once, it will activate the citric acid and start the fizzing reaction prematurely—so go slow!
3. Combine and Spritz
Slowly drizzle the wet mixture into the dry ingredients while whisking continuously. The mixture should start to clump slightly. If it feels too dry and powdery, this is where the witch hazel comes in. Spritz a little at a time and mix. You are looking for a consistency similar to damp sand—it should hold its shape when squeezed in your hand but crumble easily when pressed.
4. Moulding
Pack the mixture tightly into your moulds. If you are using two-part sphere moulds, overfill each half slightly and press them together firmly. Don’t twist them; just press hard to create a tight seal.
5. Drying Time
Gently tap the mould to release the bath bomb. Place them on a sheet of greaseproof paper and leave them to dry in a cool, dry place for at least 24 hours. Humidity is the enemy here, so avoid the bathroom!
Creating Gift Sets: Themes and Packaging
Once you have mastered the basic recipe, the real fun begins: curating your gift set. Presentation is key to making your homemade gifts look premium.
Scent Themes to Inspire You
Creating a cohesive theme makes the gift feel more luxurious. Here are three ideas:
- The “Spa Day” Set: Use Epsom salts, eucalyptus, and peppermint essential oils. Package in crisp white boxes with green ribbon.
- The “Sweet Dreams” Set: Focus on Lavender, Chamomile, and Vanilla. Wrap in purple tissue paper and include a small eye mask.
- The “Citrus Burst” Set: Lemon, Orange, and Grapefruit scents to energise. Use bright yellow or orange packaging for a cheerful vibe.
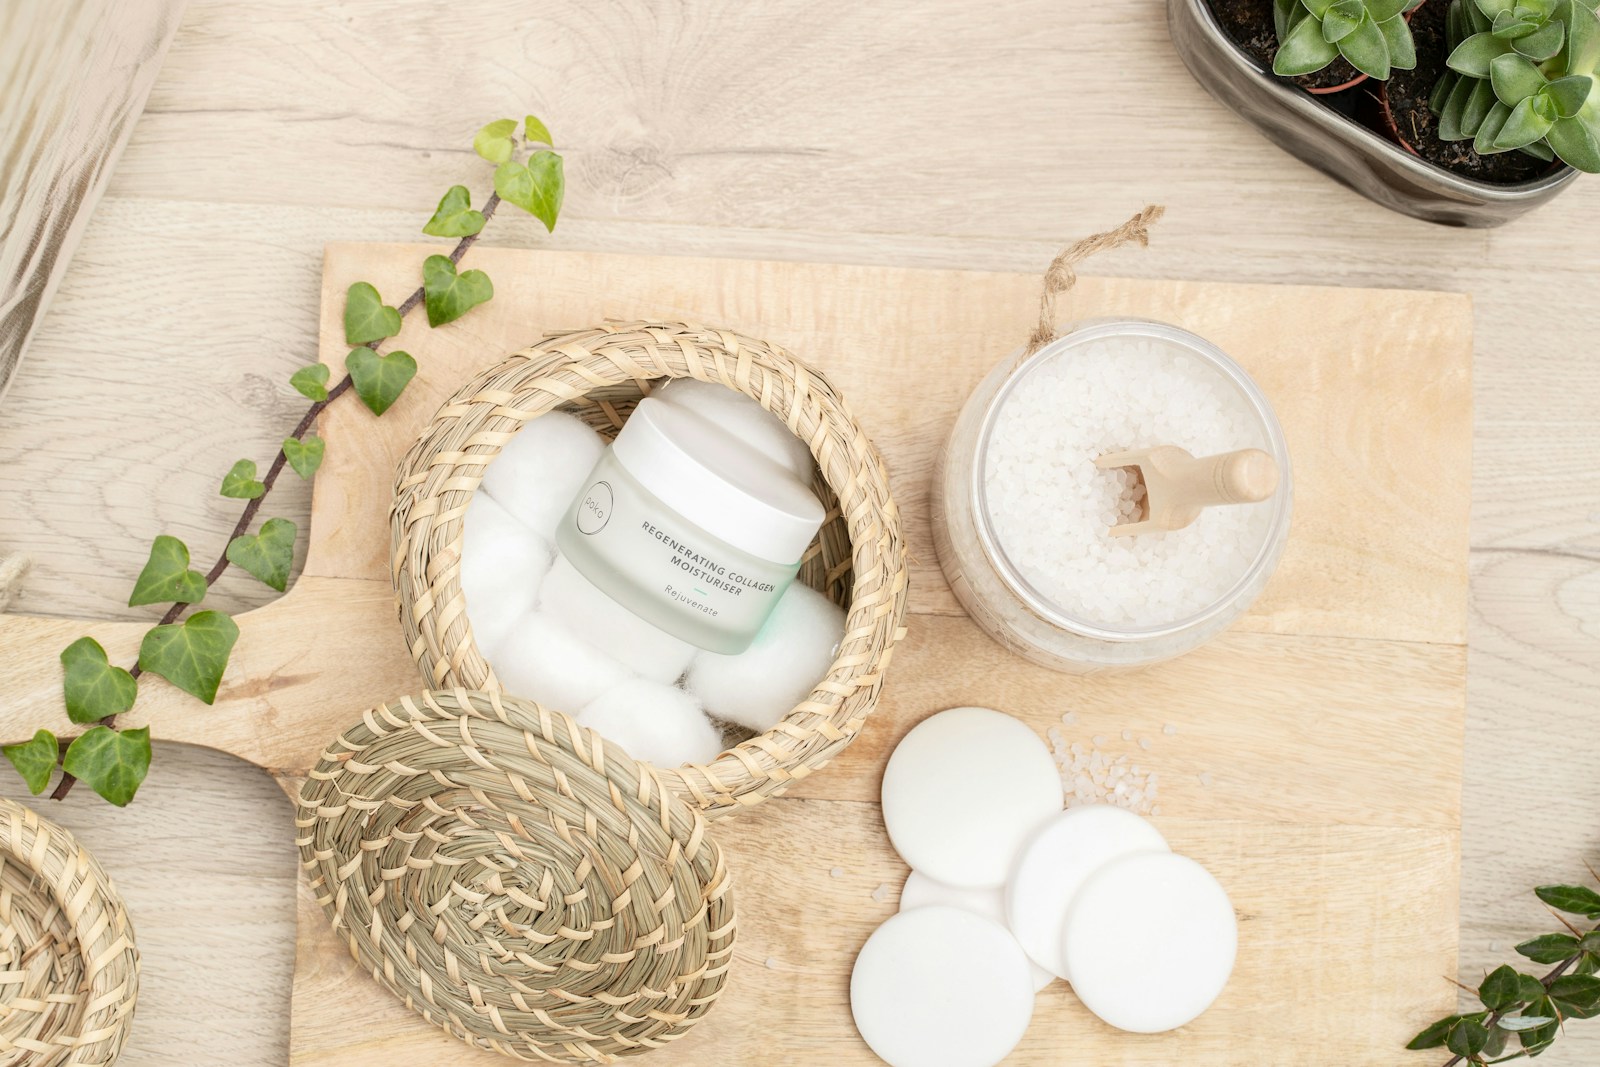
Packaging Ideas
Avoid plastic where possible to keep your gift eco-friendly.
- Kraft Paper Boxes: Line them with shredded paper or wood wool for a rustic look.
- Glass Jars: Layer different coloured bath salts or bombs in a mason jar and tie a ribbon around the neck.
- Cellophane Bags: If you must use plastic, use compostable cellophane bags tied with twine and a handwritten tag.
Troubleshooting Common Issues
Even the most experienced crafters face hiccups. Here is how to fix the most common bath bomb blunders.
Why are my bath bombs cracking?
This usually happens if the mixture was too dry or if they dried too quickly. Try adding a little more spritz of witch hazel next time, and let them dry away from direct heat or sunlight.
Why are they not fizzing?
If there is no fizz, the citric acid may have been activated during the mixing process (likely due to adding too much water or liquid dye). You can still use these “dud” bombs as bath salts—just crush them and add to your tub!
Why is there a ring around the bath?
This is often caused by using too much oil or non-soluble colourants. Ensure you are using water-soluble dyes or micas specifically designed for bath products, and try to keep the oil quantity to the minimum required for binding.
Safety Tips and Shelf Life
While natural ingredients are generally safe, there are a few things to keep in mind:
- Essential Oils: Always check

Leave a Reply