

“`html
DIY Painted Plant Pots: Transform Your Indoor Garden With Creative Flair
There’s something deeply satisfying about surrounding yourself with greenery. Whether you’ve got a sprawling collection of houseplants or just a few cherished pots on your windowsill, the containers you choose can make all the difference to your home’s aesthetic. But why settle for plain terracotta or generic shop-bought designs when you can create something truly personal?
Painting your own plant pots is one of those wonderfully accessible craft projects that delivers maximum impact with minimal fuss. It’s budget-friendly, therapeutic, and the results can be absolutely stunning. Plus, it’s the perfect weekend activity whether you’re flying solo or looking for something fun to do with friends or little ones.
In this comprehensive guide, we’ll walk you through everything you need to know to create beautiful DIY painted plant pots that will have your guests asking where you bought them. So grab your brushes and let’s get creative!
Why Make Your Own Painted Plant Pots?
Before we dive into the how-to, let’s talk about why this craft project is worth your time. Beyond the obvious creative satisfaction, there are plenty of brilliant reasons to have a go at painted terracotta pots:
- Personalisation: Create pieces that perfectly match your interior décor and colour scheme
- Budget-friendly: Transform inexpensive plain pots into designer-looking pieces for a fraction of the cost
- Eco-conscious: Upcycle old or charity shop finds rather than buying new
- Therapeutic benefits: Painting is wonderfully mindful and stress-relieving
- Unique gifts: Handmade pots make thoughtful, personal presents for plant-loving friends
- Social activity: Perfect for craft nights with girlfriends or creative playdates
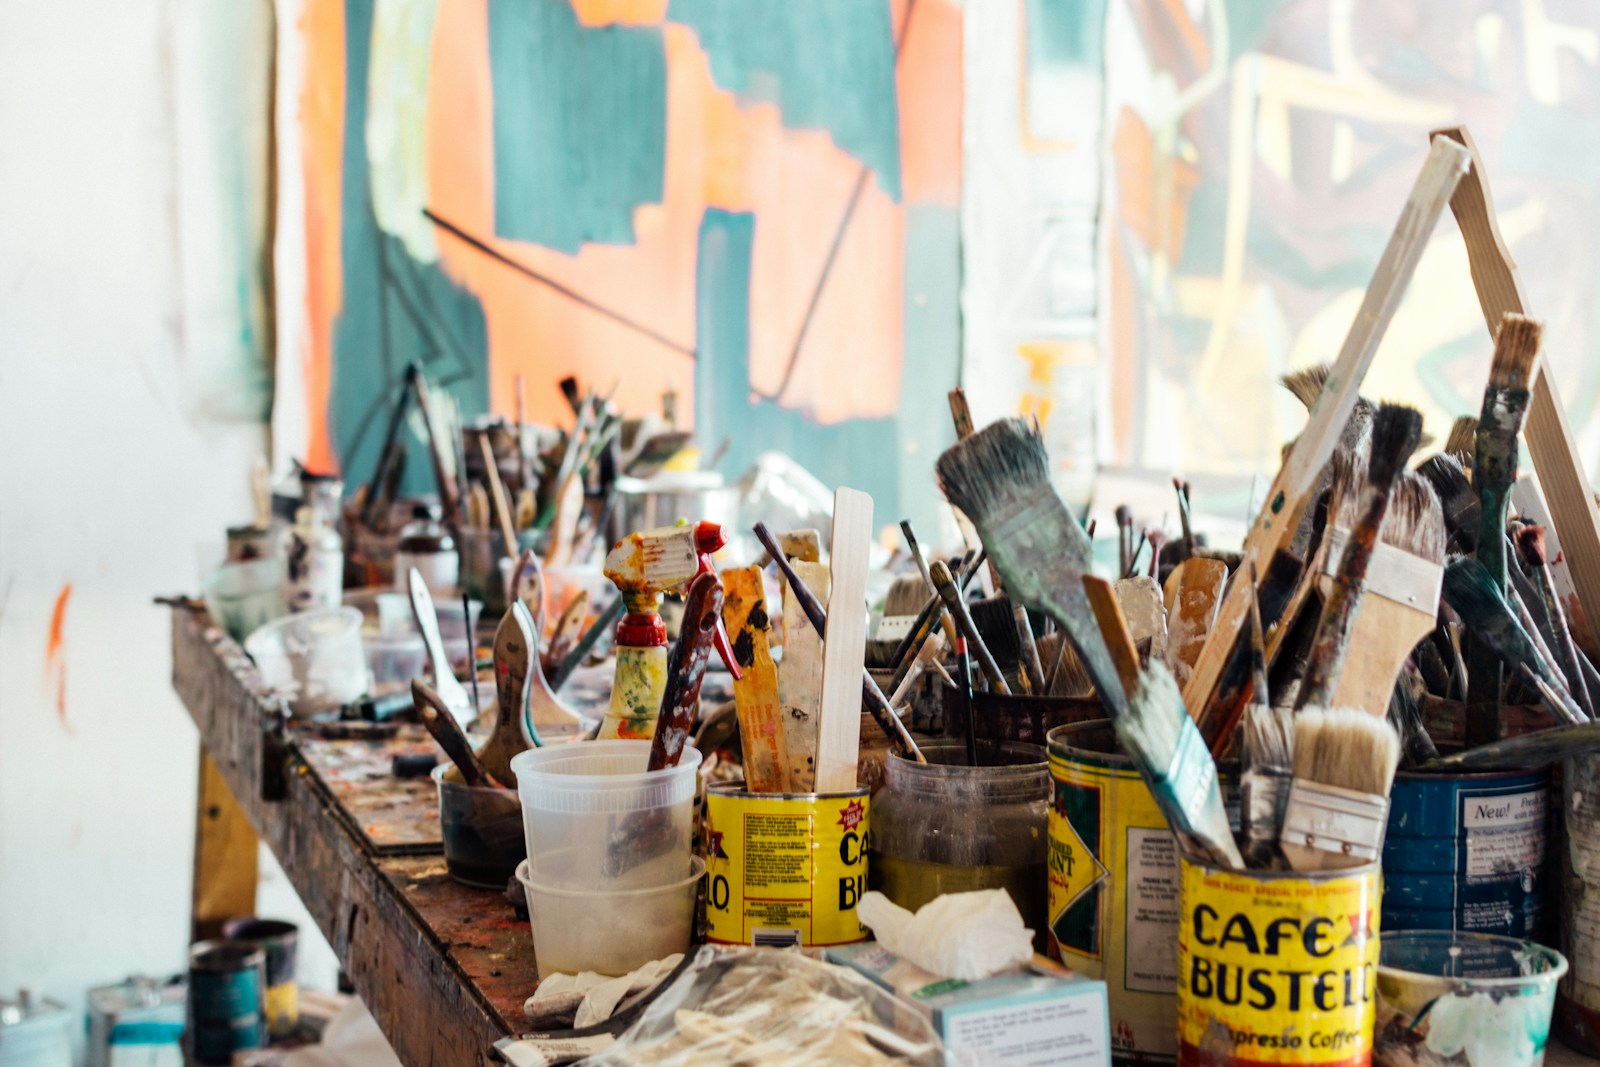
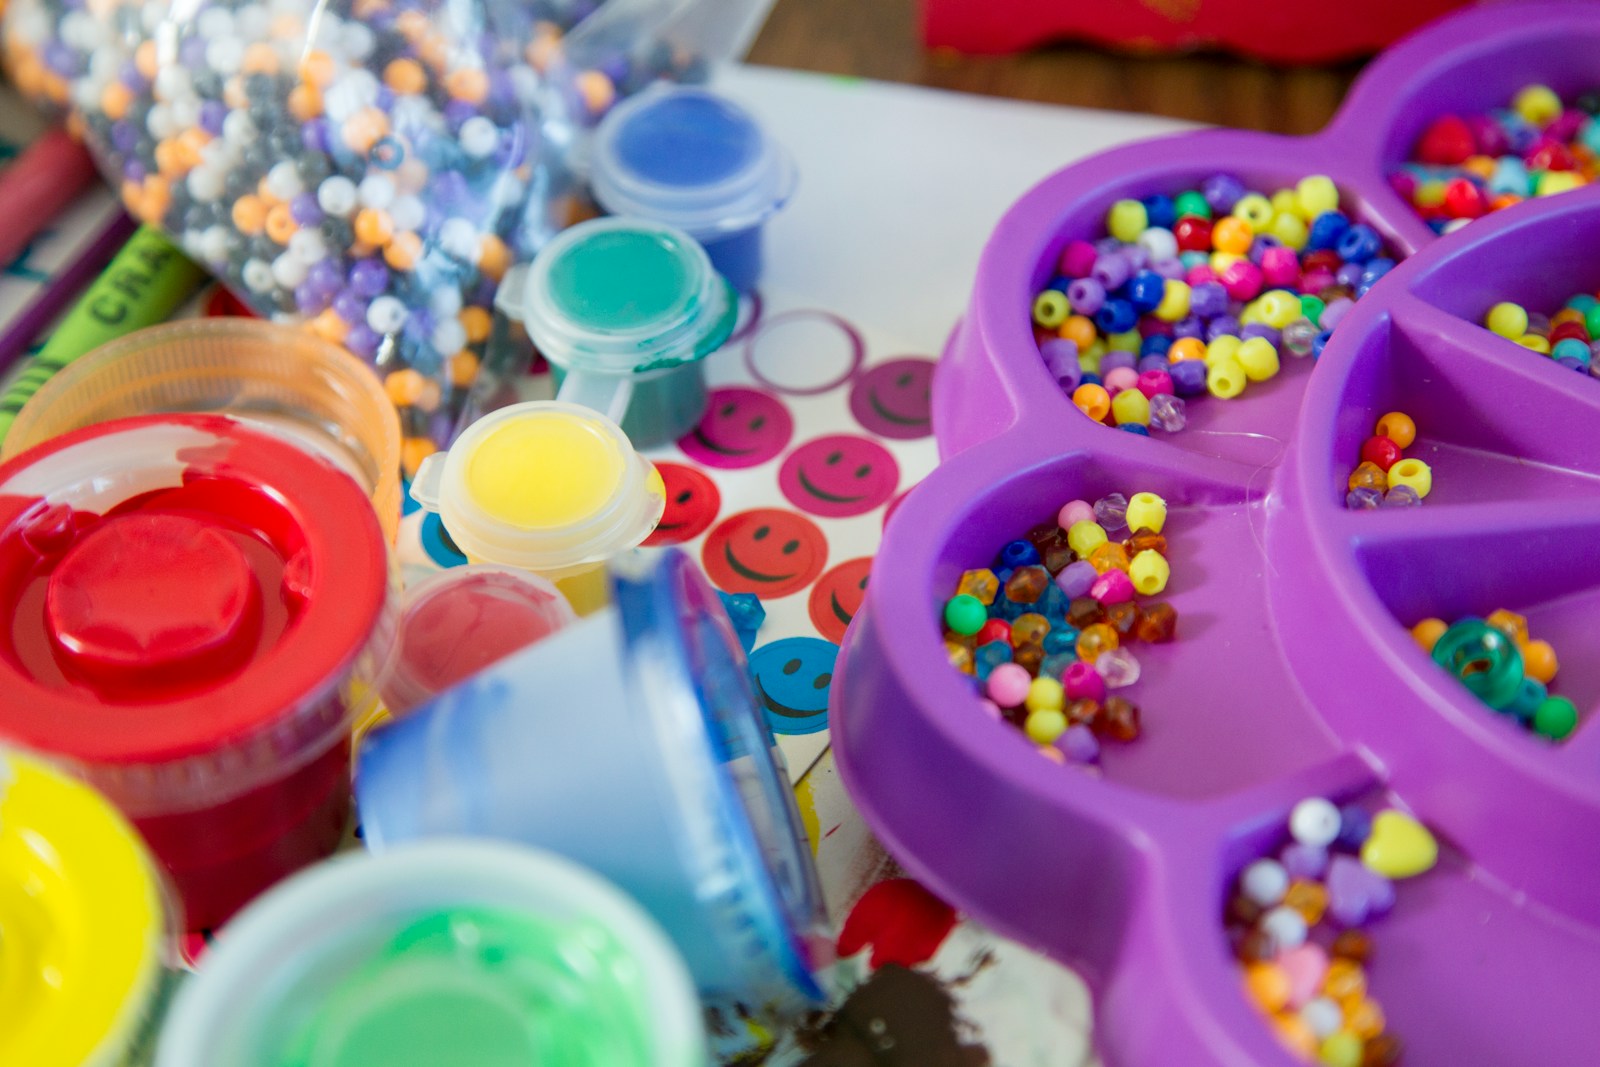
Materials You’ll Need
One of the joys of this project is that you don’t need to break the bank on supplies. Here’s your essential craft supplies checklist:
Basic Materials
- Terracotta pots (various sizes) – available from garden centres, DIY stores, or charity shops
- Acrylic paints in your chosen colours
- Paintbrushes in various sizes (fine detail brushes and larger flat brushes)
- Painter’s tape or washi tape for creating clean lines
- Pencil for sketching designs
- Palette or paper plate for mixing colours
- Water pot and kitchen roll for cleaning brushes
Optional Extras
- Primer: Helps paint adhere better to porous terracotta
- Sealant: Clear varnish or mod podge to protect your finished design
- Posca pens: Brilliant for detailed designs and lettering
- Sponges: For creating textured effects
- Stencils: If you’re not confident painting freehand
- Gilding flakes: For adding luxurious metallic accents
Preparing Your Pots
Proper preparation is the secret to a professional-looking finish. Terracotta is wonderfully porous, which is great for plants but means it can drink up your paint unevenly if you don’t prep properly.
Step 1: Clean Thoroughly
Start by wiping your pots with a damp cloth to remove any dust or debris. If you’re using second-hand pots, give them a proper wash with warm soapy water and allow them to dry completely – ideally overnight. Any moisture trapped in the clay can cause your paint to bubble or peel later.
Step 2: Apply Primer (Optional but Recommended)
For the most vibrant, long-lasting results, apply a coat of white primer or gesso to your pot. This creates a smooth base that helps your colours pop and ensures better paint adhesion. It’s particularly important if you’re planning to use light colours over the natural terracotta.
Step 3: Plan Your Design
Before committing paint to pot, sketch your design lightly with a pencil. This is especially helpful for geometric patterns or more complex designs. Remember, pencil marks can be gently erased if you make a mistake!
Design Inspiration and Ideas
Not sure where to start with your pot painting designs? Here are some trending styles to spark your creativity:
Geometric Patterns
Use painter’s tape to create crisp triangles, chevrons, or colour-blocked sections. This style looks incredibly chic and is surprisingly easy to achieve. Simply tape off your sections, paint within the lines, and peel away the tape whilst the paint is still slightly wet for razor-sharp edges.
Ombre and Gradient Effects
Create a dreamy, watercolour-inspired look by blending two or more colours together. Start with your lightest shade at the top and gradually work darker towards the bottom, blending whilst the paint is wet. This technique looks particularly beautiful with soft pastels or earthy tones.
Botanical Illustrations
Embrace the plant theme by painting delicate leaves, ferns, or flowers around your pot. Don’t worry if you’re not a natural artist – simple leaf shapes can be incredibly effective, and there’s something charming about a slightly imperfect, hand-painted look.
Minimalist Typography
Paint the botanical name of your plant, a favourite quote, or simple words like ‘grow’, ‘bloom’, or ‘nurture’. Fine brushes or Posca pens work brilliantly for lettering. This style pairs perfectly with modern, Scandinavian-inspired interiors.
Dots and Mandala Patterns
Use the end of a paintbrush or a cotton bud to create perfect polka dots. Build up concentric circles to create mandala-inspired designs that look intricate but are actually wonderfully meditative to create.
Step-by-Step Painting Guide
Ready to get started? Here’s your foolproof guide to how to paint plant pots:
- Set up your workspace: Cover your table with newspaper or a wipeable cloth. Good lighting is essential for detailed work.
- Apply your base coat: If using primer, let it dry completely before adding your background colour. Two thin coats give better coverage than one thick one.
- Mark out your design: Use tape for geometric patterns or lightly sketch freehand designs with pencil.
- Start painting: Work from light to dark colours. Allow each section to dry before moving to adjacent areas to prevent smudging.
- Add details: Once your base layers are completely dry, add finer details with smaller brushes or paint pens.
- Correct mistakes: Damp cotton buds are brilliant for lifting small errors whilst paint is wet.
- Seal your work: Once everything is thoroughly dry (ideally leave overnight), apply a clear sealant to protect your design from water damage and fading.
Tips for Success
After plenty of trial and error, here are our top tips for achieving professional results:
- Less is more: Build up thin layers rather than applying thick paint that will drip and take ages to dry
- Be patient: Allow proper drying time between coats – rushing leads to smudged designs
- Work in good light: Natural daylight helps you see true colours and spot any missed patches
- Embrace imperfection: Slight variations give handmade pieces their charm
- Test colours first: Paint looks different on terracotta than on your palette – do a test patch on the inside rim
- Consider the plant: Choose colours that will complement the foliage, not compete with it
Caring for Your Painted Pots
To keep your handmade plant pots looking beautiful, a little care goes a long way. If you’re using them outdoors, ensure you’ve used weatherproof sealant and consider bringing them inside during harsh winter months. For indoor pots, simply wipe gently with a damp cloth when needed – avoid abrasive cleaners that might scratch the paint.
When watering, try to pour water directly onto the soil rather than over the painted exterior. If your pot doesn’t have a drainage hole, consider keeping your plant in its nursery pot and using your painted creation as a decorative cover – this also makes repotting much easier!
Final Thoughts
Creating your own DIY painted plant pots is one of those lovely projects that combines creativity, practicality, and the satisfaction of making something with your own hands. Whether you’re a seasoned crafter or a complete beginner, there’s a design approach to suit your skill level and style.
The beauty of this craft lies in its accessibility – you can create something stunning in an afternoon with minimal investment, and the results bring joy every time you water your plants. So why not gather some friends, put the kettle on, and turn pot painting into a proper creative catch-up?
Your indoor garden (and your wallet) will thank you. Happy painting!
Have you tried painting your own plant pots? We’d love to see your creations – tag us in your photos on social media and share your favourite design tips with our community!
“`


Leave a Reply